
Hyper-V is Microsoft’s built-in virtualization platform that allows you to create and run virtual machines (VMs) directly on Windows. In this step-by-step guide, we’ll cover how to enable Hyper-V on Windows, set up an external virtual switch, and install Windows 11 in a VM.
Windows 11 VM Hyper-V Requirements:
CPU: 1 GHz with 2 cores or more, hardware virtualization (Intel VT or AMD-V)
RAM: Minimum 4 GB
Speicherplatz: At least 64 GB
VM Generation: Generation 2
Secure Boot: Enabled
TPM: TPM 2.0 enabled
System Firware: UEFI
Virtual CPUs: Minimum 2 vCPUs
Enable Hyper‑V on Windows
Hyper-V can be enabled either via the Windows GUI or through PowerShell.
I prefer PowerShell because it’s faster and more direct.
Open PowerShell as Administrator and run the following command:
Enable-WindowsOptionalFeature -Online -FeatureName Microsoft-Hyper-V -All

Creating an External Virtual Switch
To give the VM internet access, you need to create an external virtual switch that bridges the VM to your physical network adapter.
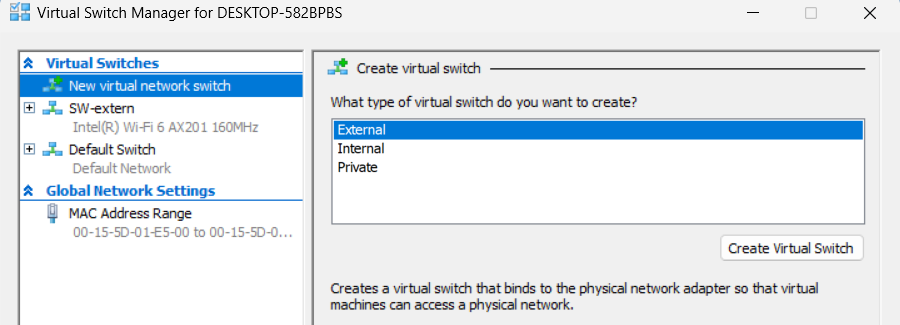
Open Hyper-V Manager as Administrator → Virtual Switch Manager.
Select type: External.
Click Create Virtual Switch.
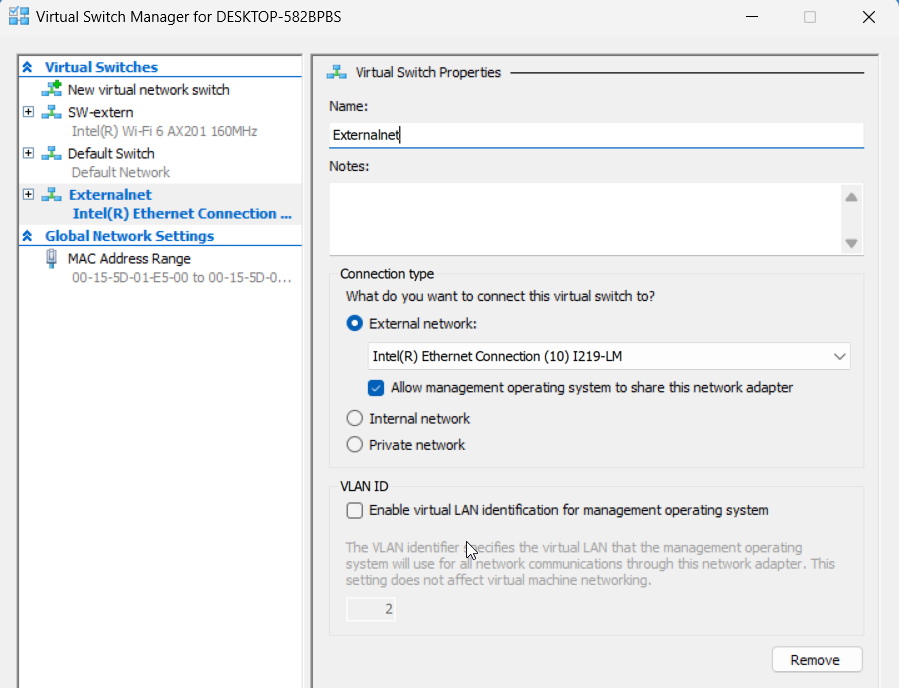
Name it, for example, Externalnet.
Select your physical network adapter and enable the option at the bottom for shared access.
Click OK.
Installing Windows 11 in Hyper-V
Start Hyper-V Manager as Administrator:
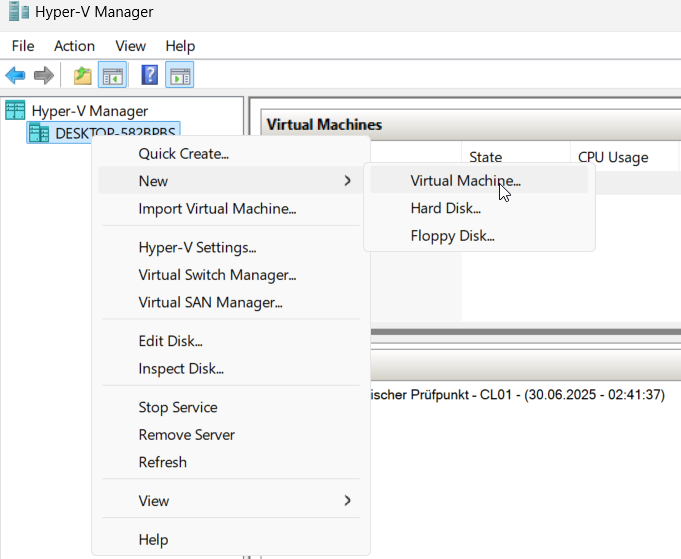
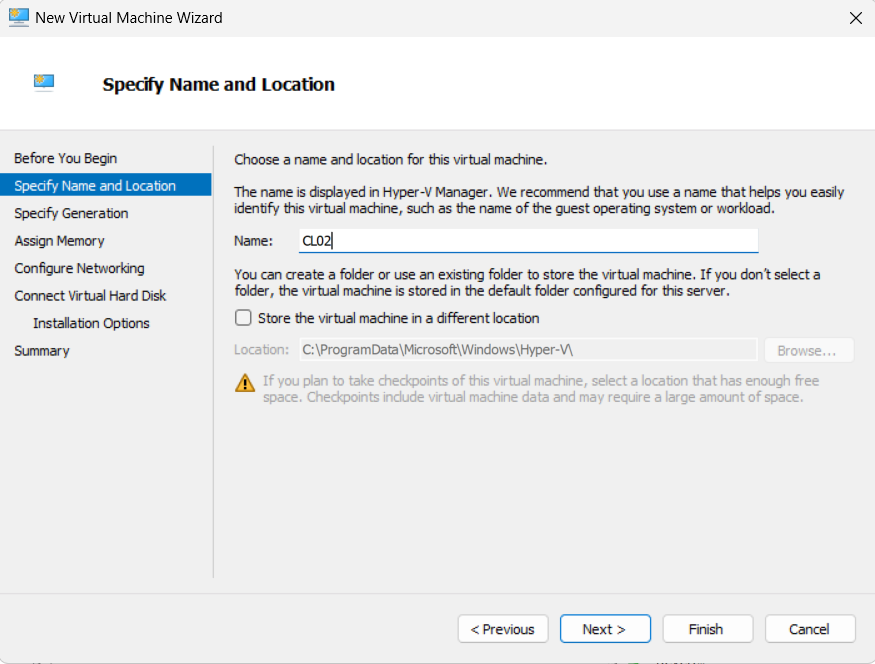
Right-click the local machine → New → Virtual Machine.
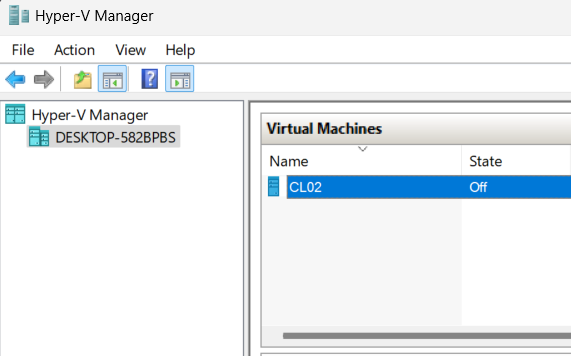
Enter a name, e.g., CL02 (leave the storage location option unchecked to use the default path).
Click Next.
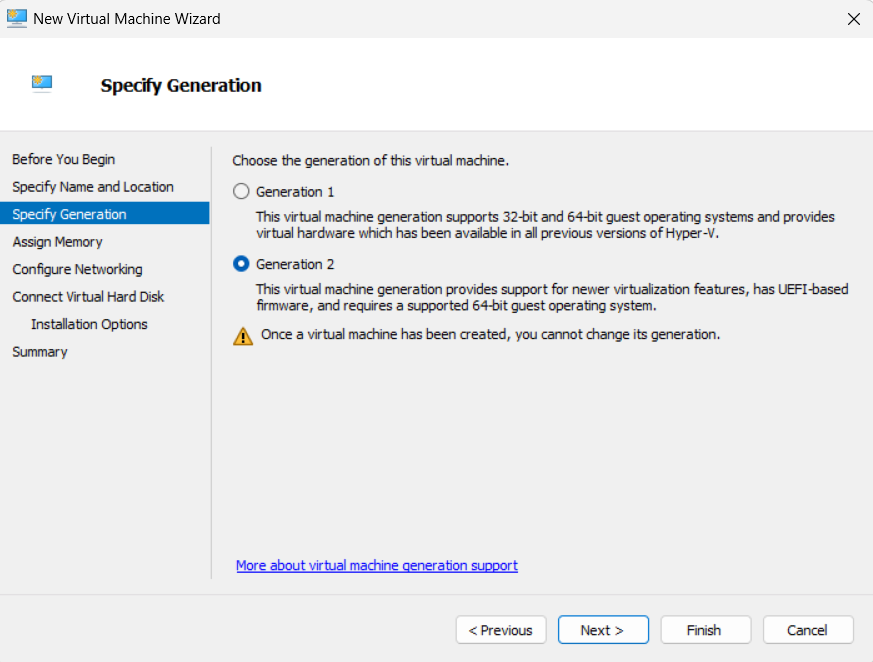
Specify Generation:
- Select Generation 2
Click Next.
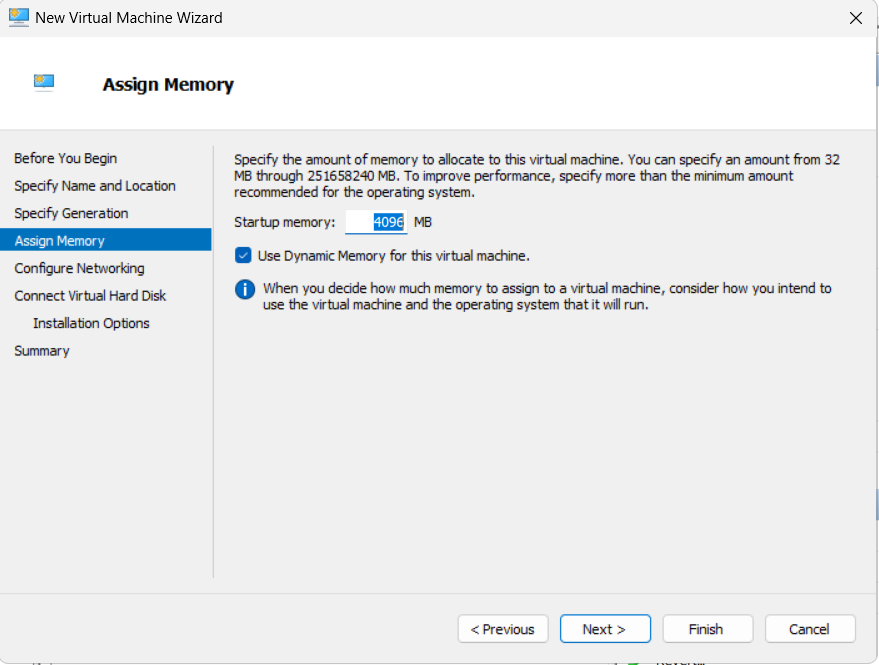
Assign Memory:
- 4 GB and enable Dynamic Memory.
Click Next.
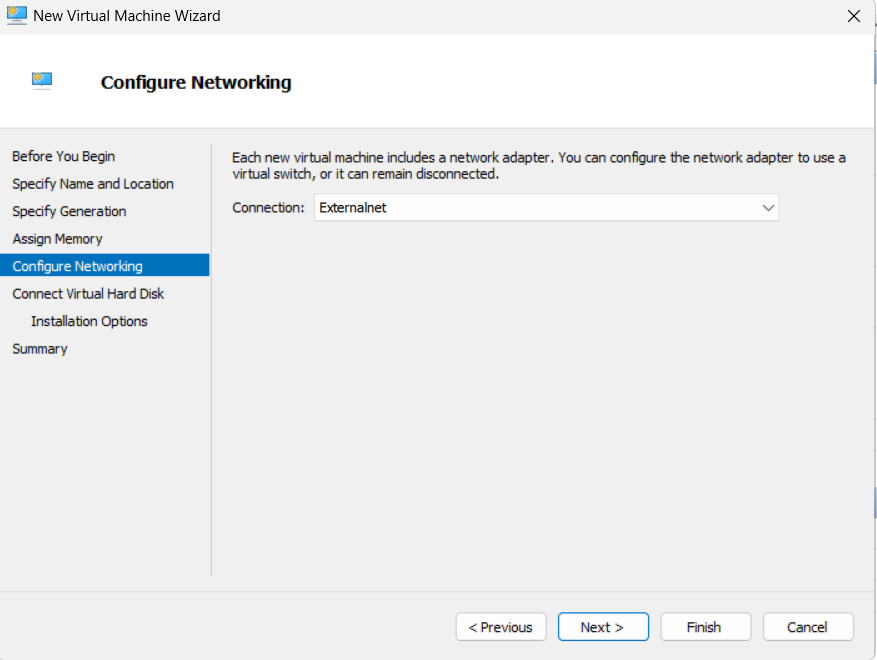
Configure Networking:
- Select the “Externalnet” switch created earlier.
Click Next.
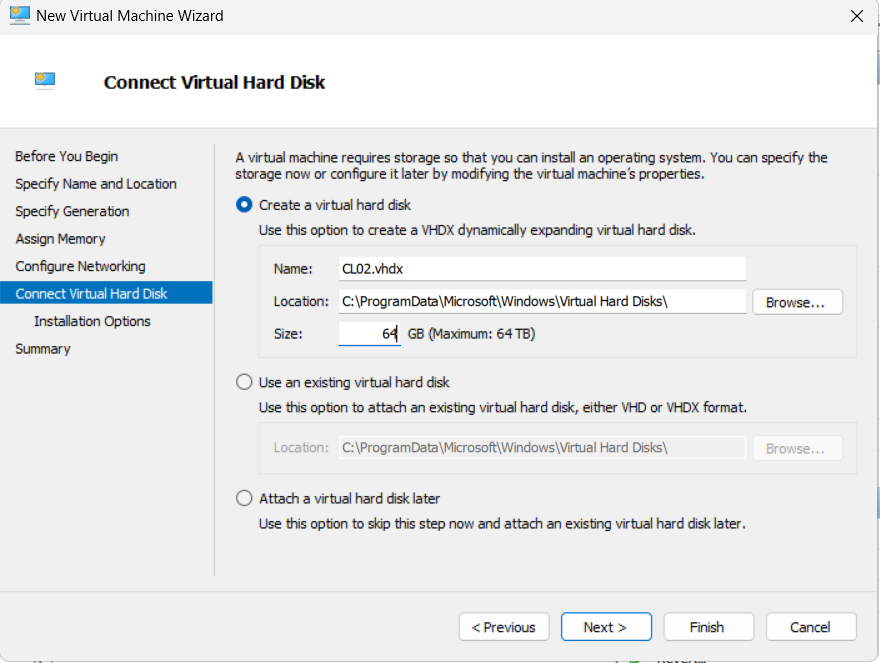
Create Virtual Hard Disk:
- Keep default name and location
- Size: 64 GB
Click Next.
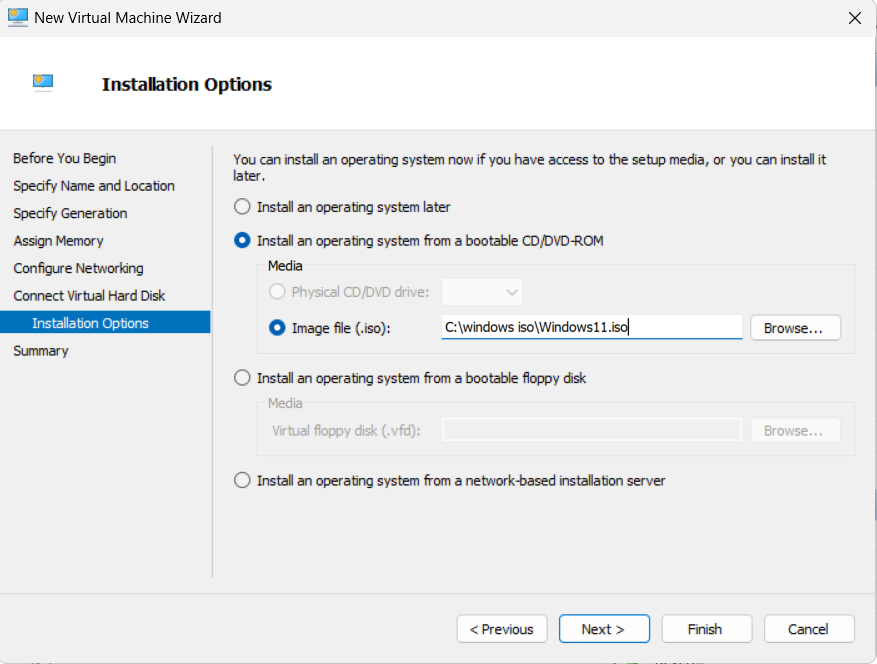
Choose Installation Image:
- ISO file: Windows11.iso
Click Next → The VM will be created.
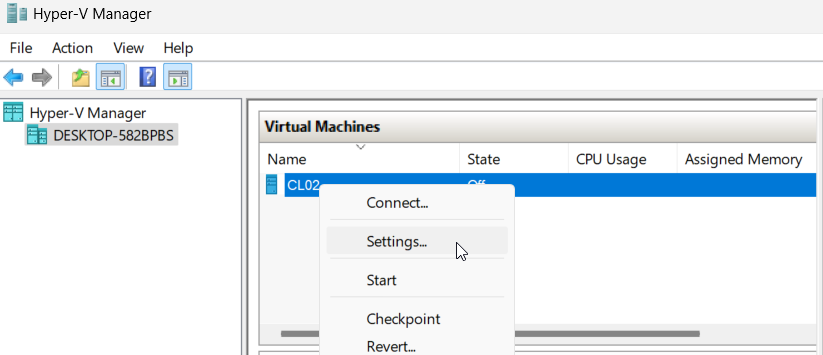
Additional Settings:
- Right-click CL02 → Settings
Under Security:
- Enable Secure Boot
- Enable Trusted Platform Module (TPM)
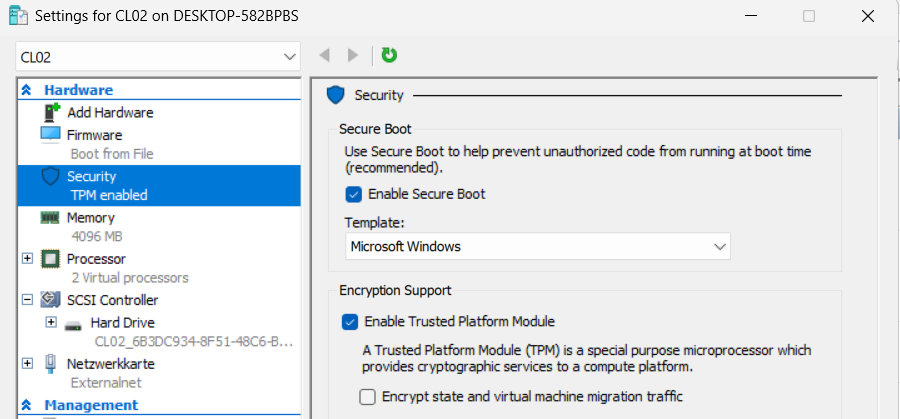
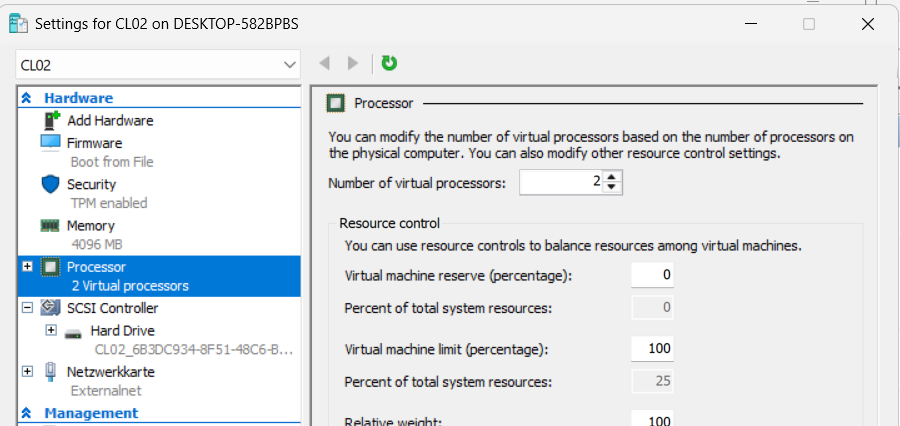
Under Processor:
- Number of virtual processors: 2
Save changes.
Done!
Your Windows 11 VM is now ready to start.