The Windows Subsystem for Linux (WSL) is a Windows feature that allows you to run Linux environments directly on a Windows client. You can install various Linux distributions such as Ubuntu, Debian, or Kali.
There are two variants: WSL 1 and WSL 2.
WSL 1 only offers a command-line environment and doesn’t support a native GUI.
WSL 2, on the other hand, supports native Linux applications with a graphical interface—therefore, we will prefer this variant.
A major advantage: separate virtualization software is no longer required to run Linux distributions. Usage is greatly simplified and particularly suitable for developers who want to integrate Linux directly into VS Code and other tools, for example.
Requirements:
- Windows 11 or Windows 10 (ideally with the latest updates )
- Hardware virtualization (BIOS/UEFI) Intel VT (Intel Virtualization Technology) or AMD -V (AMD Virtualization)
- Administrator rights to execute PowerShell commands
Installing WSL
Method 1:
Open Control Panel as administrator -> Programs and Features -> Turn Windows features on or off.
Choose:
- Windows Subsystem für Linux
- Virtual Maschine Platform
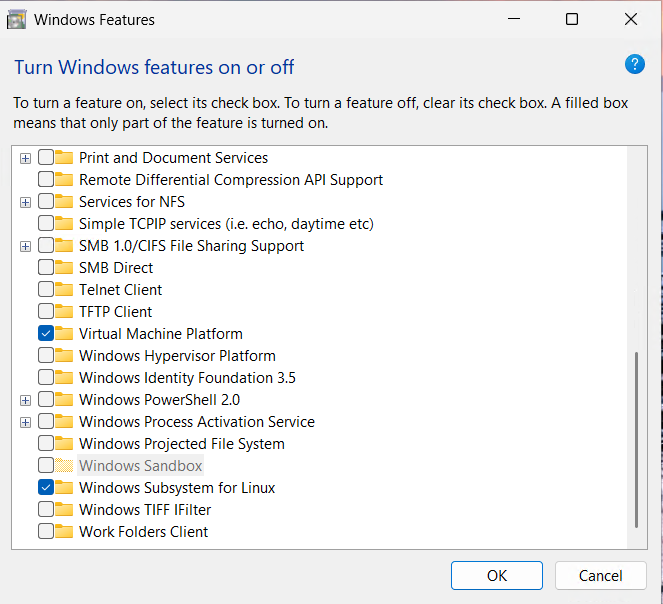
Your computer must restart once for the settings to take effect.
Method 2:
Start PowerShell as administrator:
wsl --installThis command will automatically install all required features (Virtual Machine Platform, Windows Subsystem for Linux, default Ubuntu).
Restart the client once.
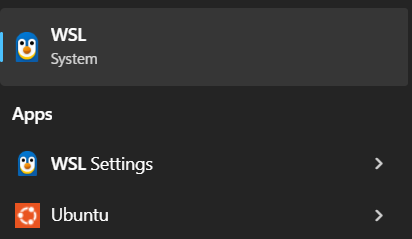
After WSL has been successfully installed, you can configure certain Linux settings under WSL Settings.
Error message:
If virtualization is not enabled in (BIOS/UEFI) this error message will appear.

Installing Linux Distribution (WSL)
The command lists all available Linux distributions:
wsl --list --online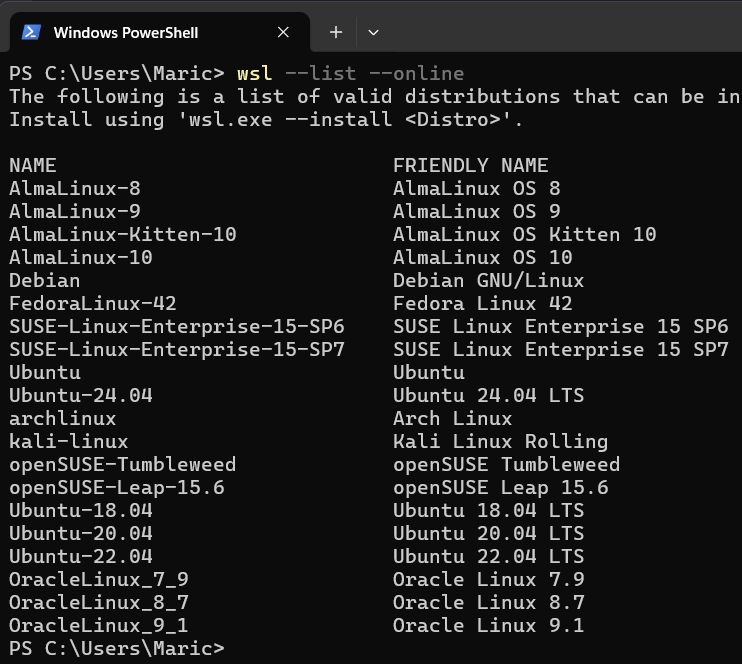
Select a desired distribution. Install Ubuntu, for example:
wsl --install -d Ubuntu-24.04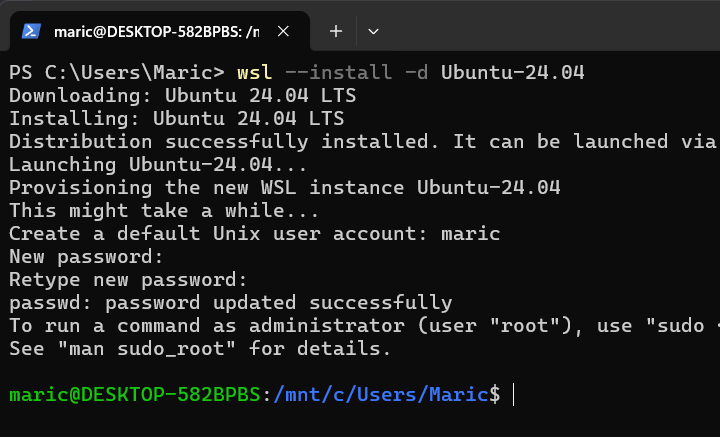
Configure username and password for Ubuntu.
Convert to WSL 2 as default environment:
wsl --set-default-version 2Check WSL status :
wsl -l -v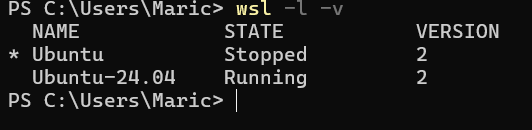
Update of WSL Linux Kernel :
wsl --updateImmediately terminates all running distributions and WSL 2 :
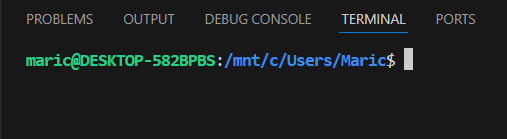
wsl --shutdownInstalling WSL extension on VS Code
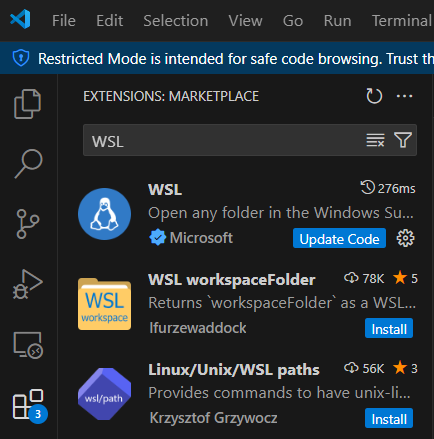
First, start Visual Studio Code:
Under Extension, search for WSL and install it.
After installation is successful, click the down arrow on Startup Profile and select Ubuntu-24.04 (WSL).
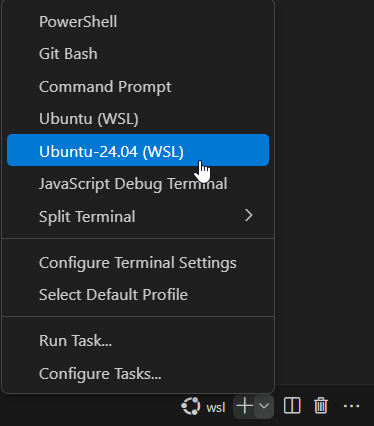
After that, the Command Panel with Ubuntu-24.04 (WSL) should appear below.